Here is a guide for those who would like to write their own Max externals based on the cv.jit source. It might also be useful for those who would like to integrate OpenCV in their own externals.
Prerequisites
Windows
Visual Studio
On Windows, you will need Visual Studio. I have tested both 2017 and 2019 versions and either should work. When you install Visual Studio, make sure you select the “Desktop Development with C++” workload.
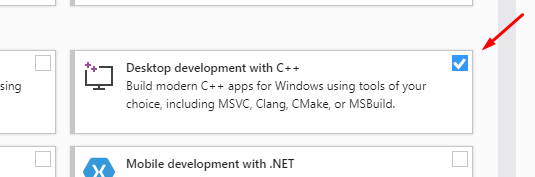
If you forgot, you can add this module by re-running the Visual Studio installer and choosing “modify”.
CMake
CMake is a tool for generating projects. You will need it to build cv.jit. Download the latest binary distribution here.
Git
You can download the cv.jit source directly, but it’s best to use Git. I will assume you already have Git and know how to use it.
macOS
Xcode
Installing Xcode from the App Store should take care of most dependencies.
CMake
The easiest way of installing CMake on macOS is through Homebrew. However, the standard Homebrew distribution of CMake does not include the GUI, so instead we must install “from the cask”.
brew cask install cmakeGetting the Source
cv.jit is hosted on Github. The latest branch is 1.9, and this is the one you will need to use to follow this guide.
On the terminal (macOS) or Git Bash (Windows), head over to where you wish to download the source, and call the git clone command, making sure you specify the 1.9 branch.
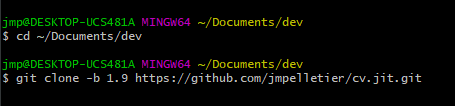
git clone -b 1.9 https://github.com/jmpelletier/cv.jit.gitGetting OpenCV
There are many ways on both Windows and macOS to get OpenCV, either as pre-compiled libraries or as source. The ReadMe file for cv.jit 1.9 contains instructions for building your own OpenCV static libraries, but I have already done this work for you. Just download the libraries for your platform here.
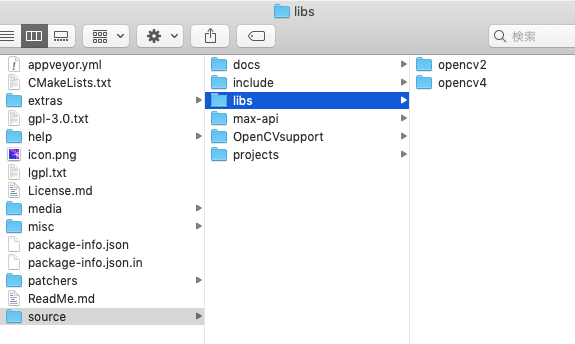
Note that you will need both the newer opencv4 and the legacy opencv2 libraries to compile all cv.jit externals.
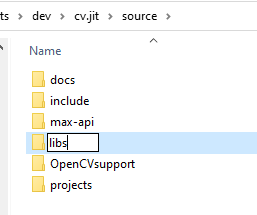
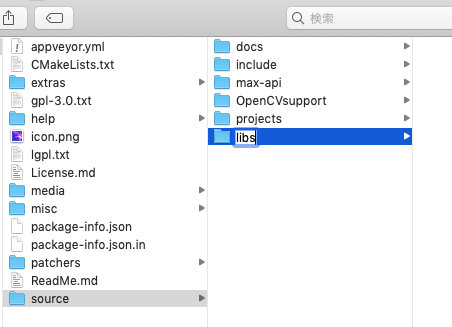
Unpack both zip files and remember where you extracted them. Here, I created a new “libs” folder inside the cv.jit source folder and put OpenCV here, but this could be anywhere.

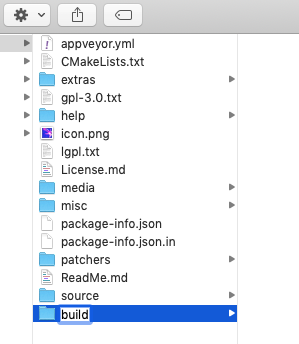
On macOS:
Running CMake
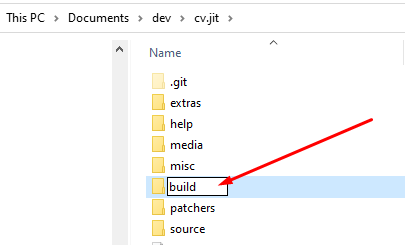
Before running CMake, you need to create a new folder where it will put the files it generates.
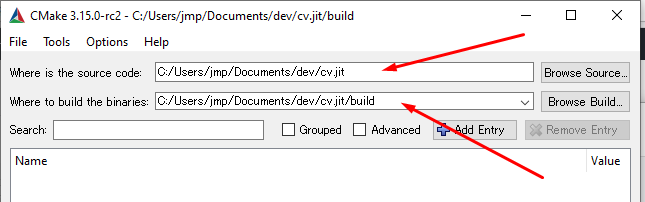
You can use CMake either from the command line or with the GUI app, but it is easier to configure using the GUI so this is what I will use for this guide.
Set the paths to the source and build folders. The first is the top cv.jit project folder and the second is the one we created in the previous step.
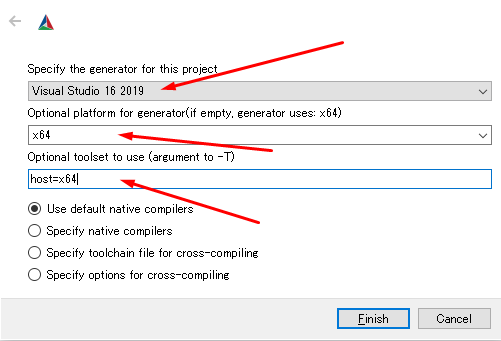
Press the “configure” button. A window should appear with some settings. These are important, make sure that they match those below. On Windows, the generator can be either “Visual Studio 15 2017” or “Visual Studio 16 2019”.
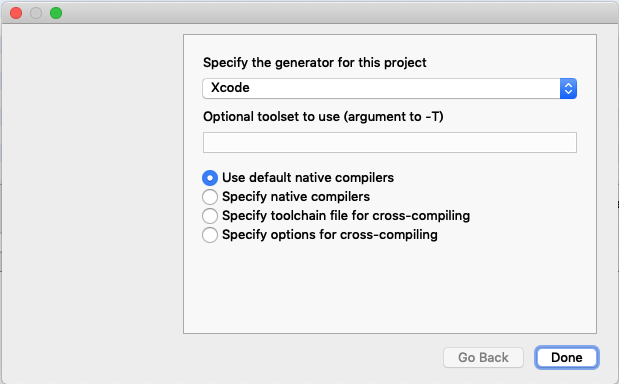
On macOS, this is a little simpler.
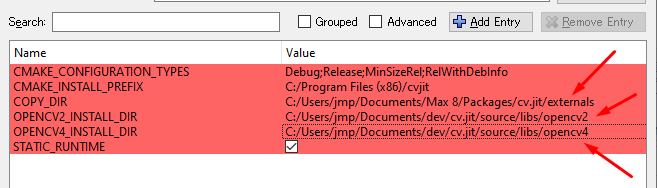
After configuration is done, you should see some options marked in red. Uncheck the “advanced” option to only show relevant variables. You must change the following values:
- COPY_DIR: When you compile an external, Visual Studio or Xcode will copy it to this directory. This can be anywhere in Max’ search path.
- OPENCV2_INSTALL_DIR: Where you copied the legacy OpenCV libraries.
- OPENCV4_INSTALL_DIR: Where you copied the newer OpenCV libraries.
Once this is done, press “configure” again. When there are no more variables marked in red, press “generate”. When this also is done, press “open project” to launch Visual Studio or Xcode.
Building
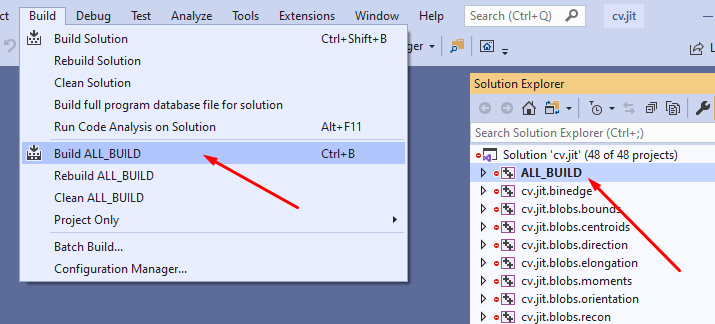
Visual Studio
If you wish to rebuild all the cv.jit externals, build the ALL_BUILD project.
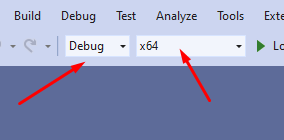
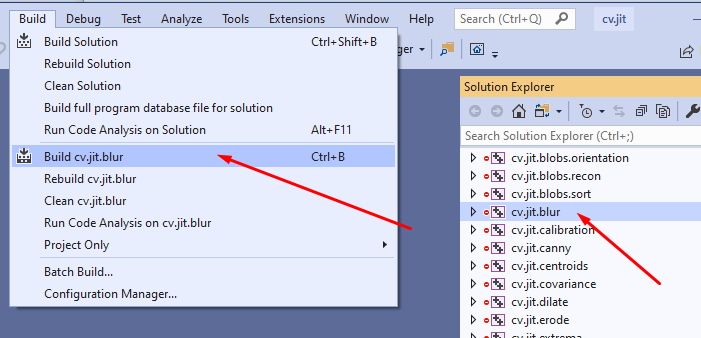
If you don’t need to rebuild everything, you can also build externals one at a time.
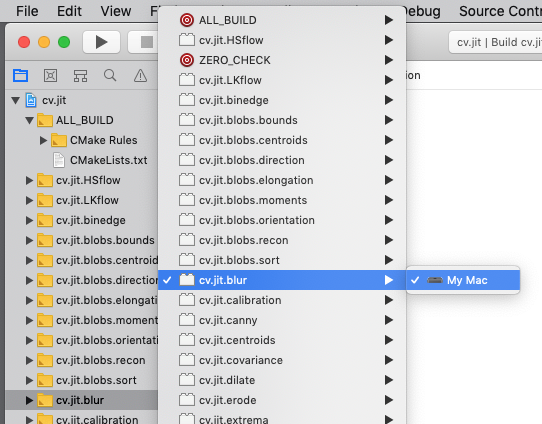
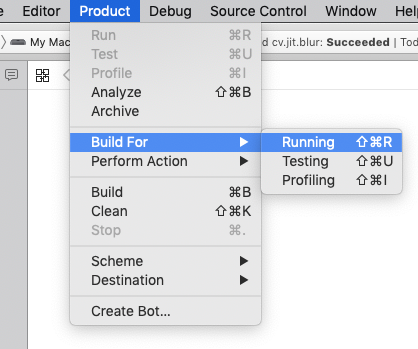
Xcode
As in Windows, you can build all externals at once by selecting the ALL_BUILD target.

You can also build externals one by one.
Adding a New External
The easiest way to create a new external is to start with an existing project. I suggest the following:
- cv.jit.blur: One matrix in, one matrix out. Uses OpenCV.
- cv.jit.unproject: One matrix in, lists out. Uses OpenCV.
- cv.jit.kalman: List in, list out, does not use Jitter. Uses OpenCV.
- cv.jit.mean: One matrix in, one matrix out. Does not use OpenCV.
- cv.jit.centroids: One matrix in, lists out. Does not use OpenCV.
- cv.jit.learn: Lists in, float out. Does not use OpenCV.
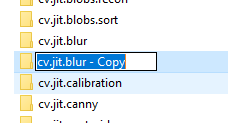
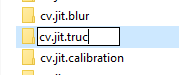
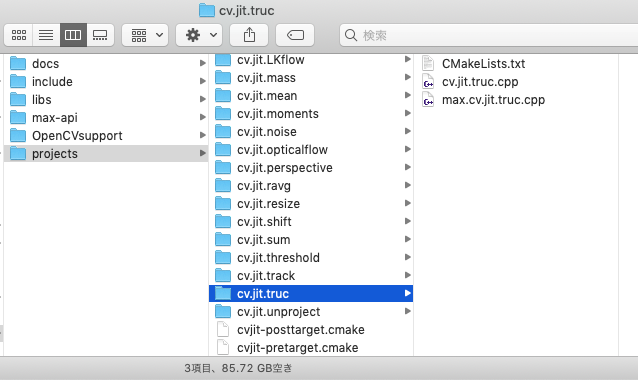
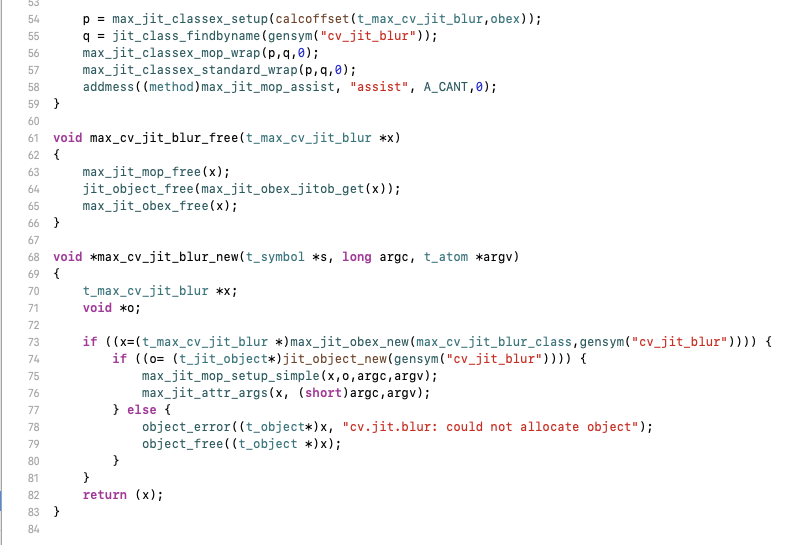
Here I will use cv.jit.blur as a starting point. First, copy and rename the project folder.
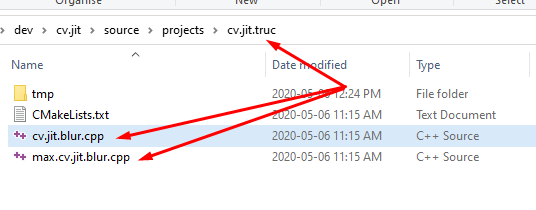
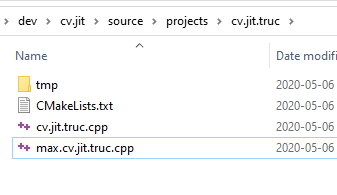
You must also rename the source files to match the name of the project. If you don’t, the CMake script will fail.
We must now return to CMake to generate the project.
In CMake GUI, just press “configure” again. As long as the source files are named correctly your project will be automatically added to the solution.

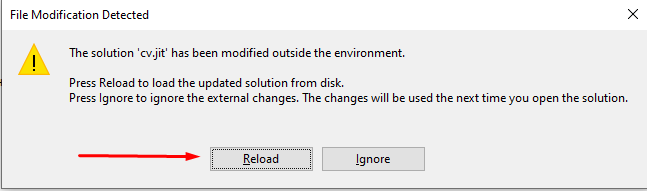
Now press “generate”. You can do this while Visual Studio is open. You will get a warning; select “reload” to update the solution.
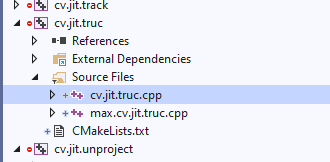
Your new project has now been added to the solution.
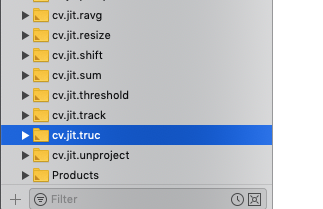
Xcode automatically updates when you press “generate” in CMake.
Finishing Up
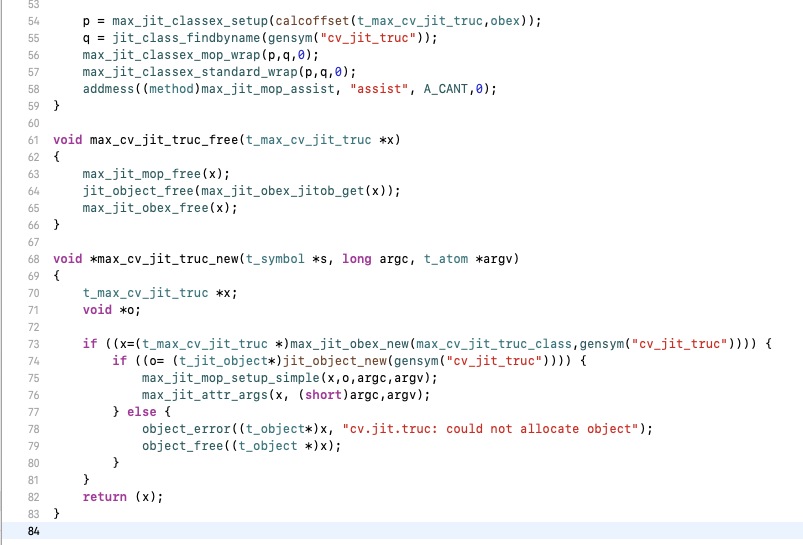
From then on, your project is set up and should compile correctly. However, you will need to change a few things for the external to work in Max. Do a text search and replace all references to the old project. For instance, here we want to replace “cv_jit_blur” with “cv_jit_truc” and “cv.jit.blur” with “cv.jit.truc” in both source files.
From here on, you’re on your own!
3 Comments
Thanks, this works very well !!!
Thank you massively for this tutorial.
I just can’t get MAX to find cv.jit.track module. It’s constantly offline. The rest of all externals work.
Thank you massively for this tutorial.
I just can’t get MAX to find cv.jit.track